
One of Chrome’s best features for staying organized is coming to Android: the almighty ‘tab groups,” which lets you bundle your tabs into more usable chunks instead of random they spread your browser – or, on your phone separate pages. However, you may need to enable a semi-hidden flag in your browser today to access this useful feature.
Make sure you have the latest version of Chrome on your Android device, updatable from the Google Play Store. Then, lstart the browser and enter it in the address bar: chrome://flags
You will be taken to a screen that looks like this:

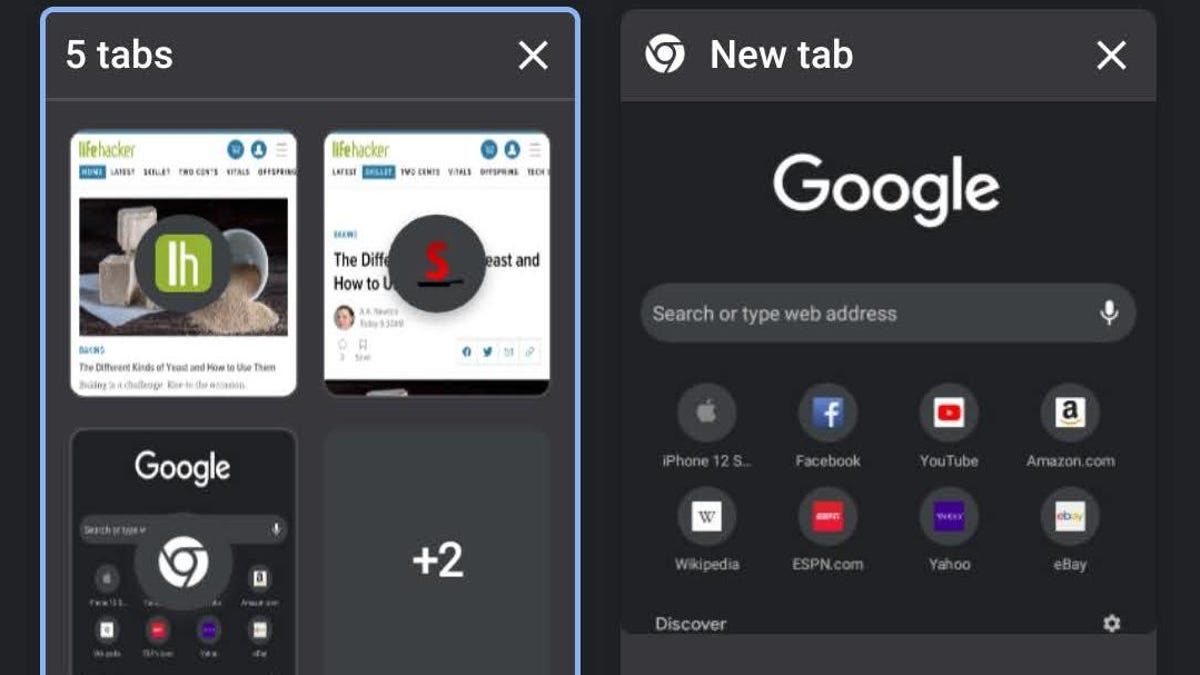
Quickly find ‘Tab Grid’ and tap the dropdown for it Tab grid layout flag, and select the normal “Enabled” option. Restart Chrome and tap the box to the right of your address bar to open a few new tabs. You will immediately see that they are now organized in a grid layout, instead of displaying pages that lie on top of each other.

G / O Media can receive a commission
How do you group these tabs? It’s easy. Just long press one and drag it over the other. R.Repeat the process to add more tabs to your tab group:

You can also tap on the group itself and use the “+” icon to add new tabs what you think is appropriate. To group multiple tabs at once without long pressing them individually, tap the three dots icon in the top right corner of this screen and select the new one Group tabs choice. You can then just tap on any free tabs you want to arrange in a group and then tap the Group button to make them new friends.

Finally, if you long press a hyperlink in a normal chrome window, you will see the option to open the new tab in a group:

Tap it and the original page you were viewing will now be grouped with the new long-pressed link, and you’ll see icons for both at the bottom of your Chrome browser. This is the easy way to navigate between tabs in your group, and you can also use the “+” icon on the right to quickly add more tabs.

Of course, if you don’t like the grid layout or tab groups, you can always turn the feature off with the same Tab grid layout flag as before. Just set it to “disabled” and your browser will revert to the previous version – for now.